
One of the most notorious and hated image formats on the Internet undoubtedly has to be WEBP format and for good reason. The image format originally developed by Google back in 2010 at a glance seems to be better than the alternative image formats considering that it offers better image compression rates than JPGs and supports transparency like PNGs do. Despite this though, anyone who has had the experience of working with a WEBP image will tell you just how annoying they are. These grievances with the image format stem from WEBP being unsupported by most software and browsers. Additionally, not too long ago there was an unpatched vulnerability in WEBP images that allowed hackers to run code embedded in WEBP images. Considering the security nightmare and headache caused by this image format; almost no one wants to use the image format or is comfortable downloading a WEBP image. This forces you to convert any WEBP image you find into a different image format whenever encounter it online which can be tedious and time-consuming. However, with the help of a simple Python script I created, you can now autonomously and comfortably perform this task the next time you encounter a WEBP image.
The script I’ve made works by prompting the user for an image address which we use in a query to a website that will convert the image for us; ezgif.com. After making the query to the image converter, the script uses Selenium to autonomously find the converted image address on the site to then download it. If you’d like to try the script yourself visit the GitHub Repo below and to learn more about the script and its features visit the YouTube video I made about it. However, before downloading and trying the program yourself please view the Read Me section below which discusses and lists all of the script’s dependencies.
Before downloading and using the program yourself ensure that you’ve downloaded all of the script’s dependencies and 3rd party modules it uses. First and foremost, this script uses the Selenium web driver to autonomously find the converted image address. Ensure that you have a modern version of Selenium installed and also the web driver installed. The process of setting up Selenium can be very tedious and confusing as such if this is your first time doing so, I’d highly encourage you to watch the following YouTube video to walk you through the process. Additionally, the script also uses the requests module which is also a third-party module that you’ll have to install yourself if you haven’t done so already. The rest of the modules/libraries used by the program should already be installed however if they are not referencing the image below use pip to install it yourself.
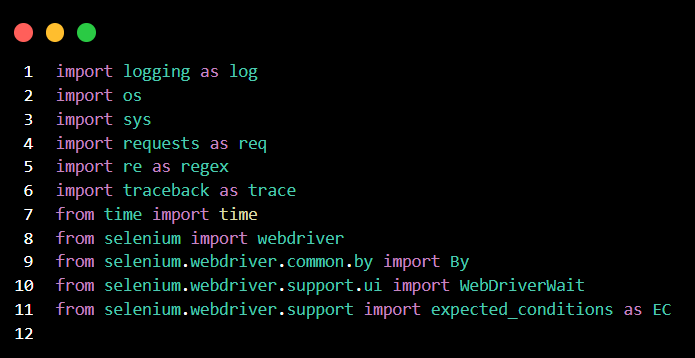
NOTE: In order for the script to work properly, you must have a 'logs' and 'output' directory where the .py file / script is located. The program should do this for you and create these directories automatically whenever it runs for the first time however if any issues do occur, manually create these directories yourself.
With the program’s dependencies out of the way let’s talk about the code itself along with all of the tasks we need to perform which are separated into functions. If you’d like a more in-depth or detailed explanation visit the YouTube video I made about the script.
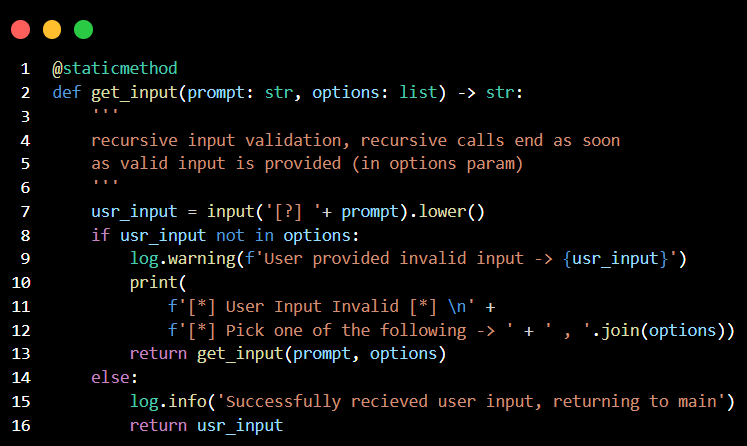
The first task our program needs to perform is to validate user input which we can do quite easily with a simple recursive function that will call itself until a user provides input that is a part of the options list supplied in the function’s parameter. This allows us to broadly perform input validation anytime we need to receive input from our user.
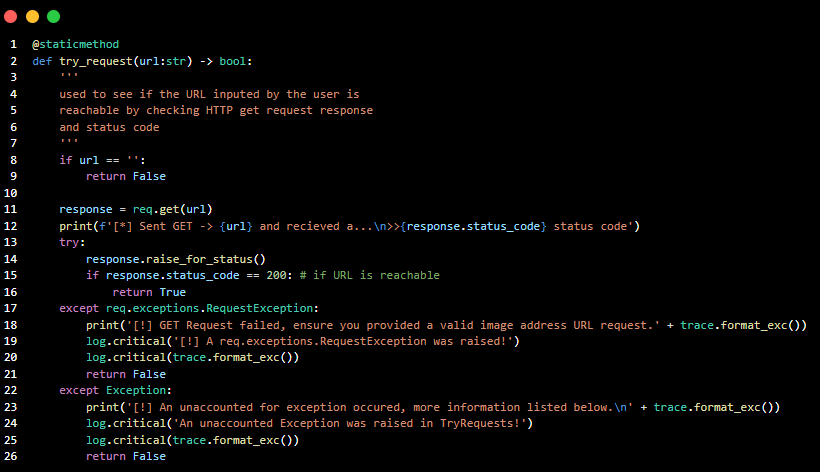
The next task our program needs to perform upon receiving an image address from our users is ensuring that they provide a valid URL. I opted to avoid checking whether or not the URL itself is an image address and also whether or not the image address leads to a WEBP image to shorten this step. Now if we wanted to do that I could’ve simply imported BeautifulSoup to parse the image address and check the extension of the image, however in order to improve the performance of our script I opted to not include further URL validation. The primary way we perform URL validation is by sending a GET request to the image address and then attempting to raise the response for status and lastly checking the status code of our request. If any exceptions are raised during this process or the status code is anything aside from 200 we return false which will signal the while loop in the main routine to continue.
Before we discuss the process_request function which performs the core logic of our program let’s get some much-needed context about the website we are using to convert images, ezgif, and the Selenium web driver.
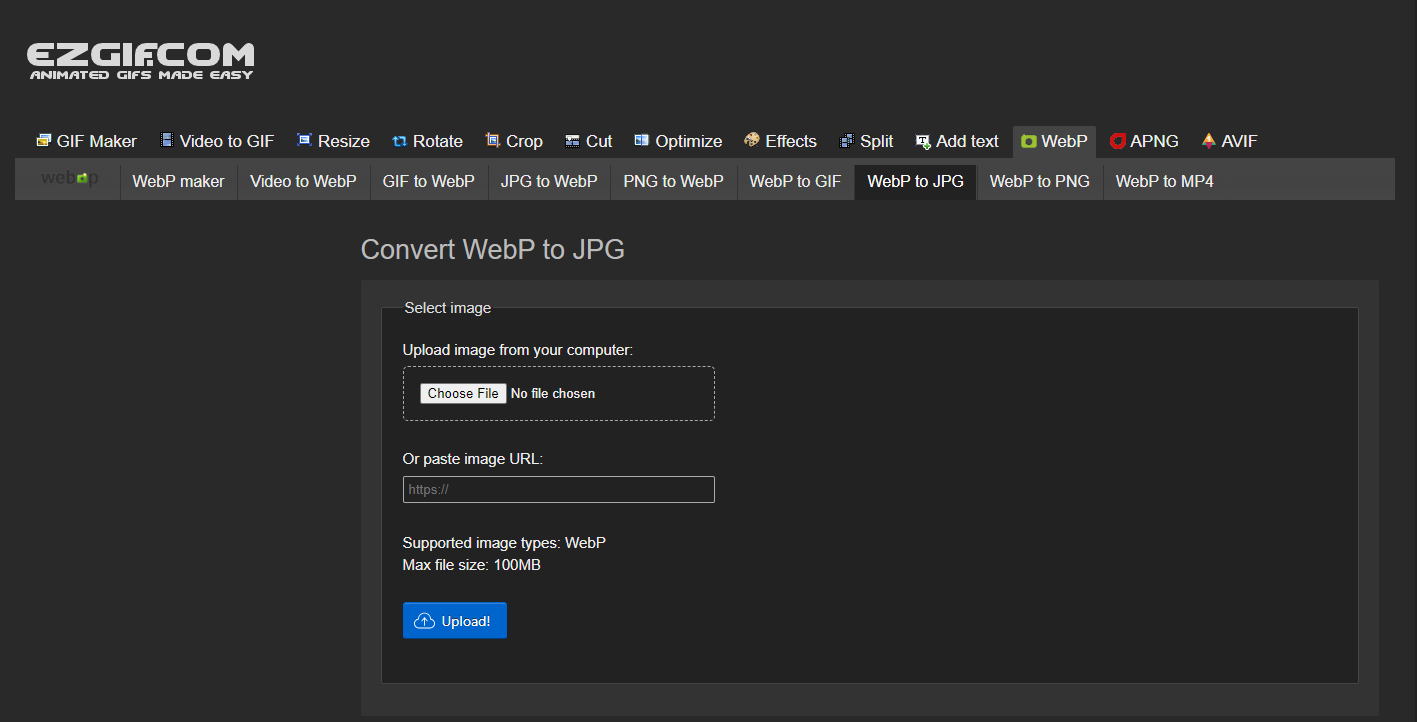
Anytime you’d like to convert an image, ezgif prompts you to enter either an image address or asks you to upload a file
to convert. However, fortunately for us, ezgif gives us the option of just simply entering the following URL
https://ezgif.com/jpg-to-webp?url=

This URL ezgif provides is solely what makes the script possible and more importantly faster than doing the process ourselves. This may sound trivial and dramatic to those unfamiliar with the Selenium web driver however, Selenium is notorious for being very inherently slow not to mention that anytime we load a website we have to tell the web driver to pause a few seconds to allow the page to load.
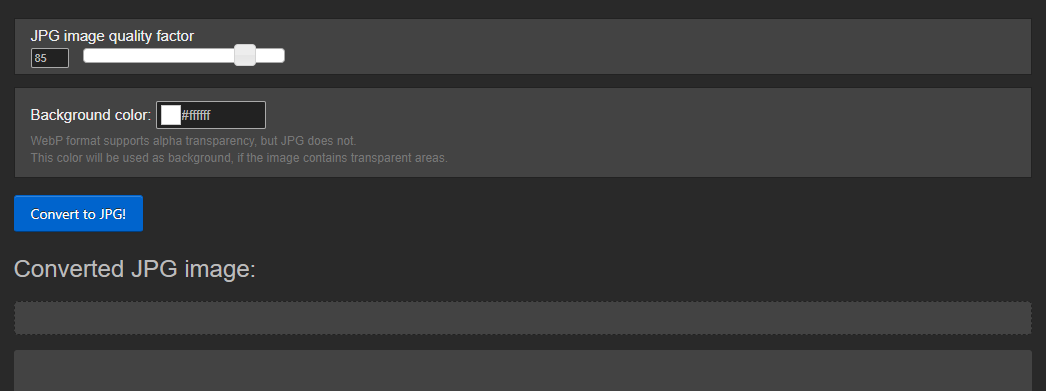
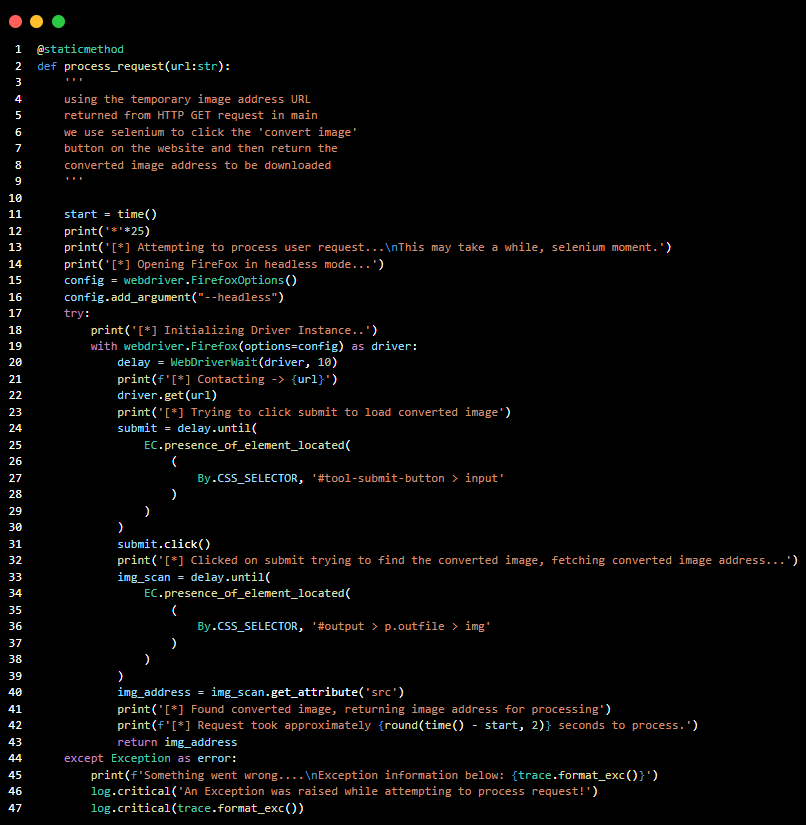
Now after entering the URL to process the request, we aren’t done yet as upon visiting the URL we have to click a button before the converted image is viewable. As such we need our web driver to click this button so that we can then grab the converted images address. Upon clicking this button, we can finally grab the image address after a 5-second delay we’ll impose on the web driver while the site loads. We’ll then return the src attribute in the converted images < img > HTML tag to fetch the image address which we’ll then return to main for further processing.
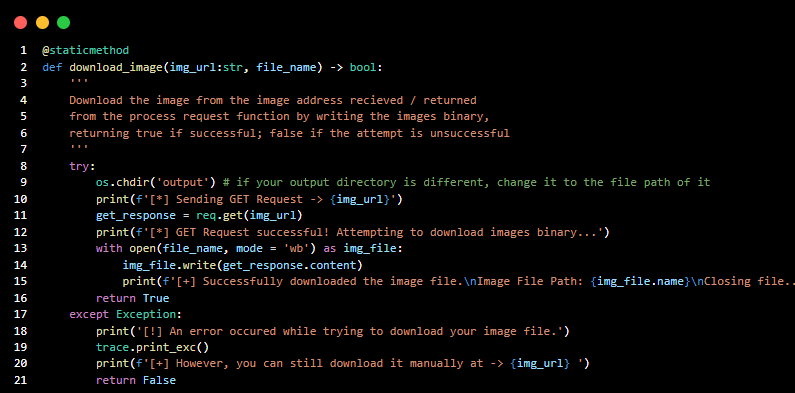
With the image address returned from process_requests, we can finally download the converted image. We’ll do this by sending a GET request to the image address URL supplied in our parameter and then opening the converted output image file where we’ll then write the converted images binary to the output file. If this process is successful, we return True, otherwise, we inform the user that we failed to download the image and also provide the converted image URL address to allow them to download the image themselves and then return False.
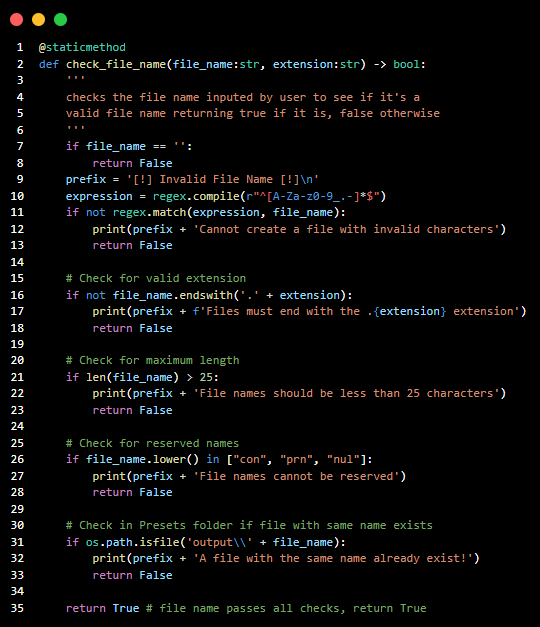
Similar to the previous script using custom JSON presets we’ll need a file name from our user in order to create the output image file which we’ll prompt them for. After we receive the desired file name from our user, we’ll pass the input into our file name parameter where we’ll then perform a series of checks to ensure that the file name provided is valid. We’ll return True if the file name in question passes all of our checks and False if it falls any of the checks.
Now that we have successfully created functions for all of the tasks for our program all that's left is putting the pieces together in the main routine. To avoid this already long blog post from being even longer and to entice anyone who's made it this far into watching the YouTube video I made about the script, I decided to leave out the explanation of the main routine. You can view the video explanation yourself below if you'd like a more in depth look at the script, but with that being said I'd like to thank you for taking the time to read this blog post and hope you learned something new today. Until next time.